This is part 2 of this Rhino 3D tutorial.
>> Click here to go back to part one.
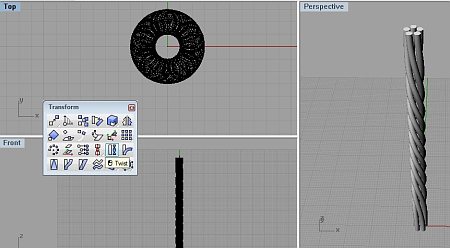
In the previous part, we have already created the twist as shown below.

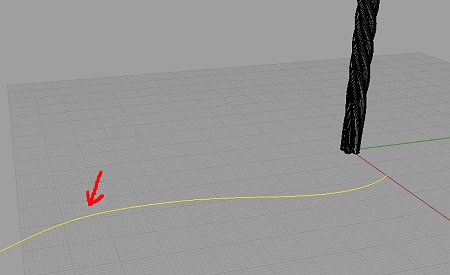
Now, create the curve that the twist tubes will have to conform to. This newly created curve is as indicated by the red arrow as shown below.

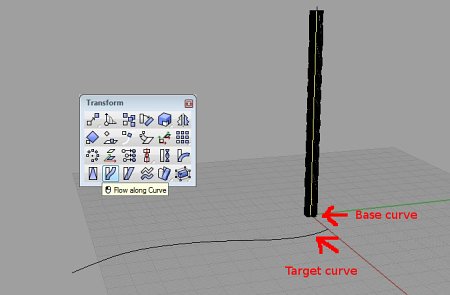
Here, we are going to use the Flow along curve command.
Objects to flow along curve are the tubes. Base curve is the first straight line that we have created. Make sure that the curve is selected at the intended end. For target curve, select the newly created curve. Set the Stretch option to Yes.

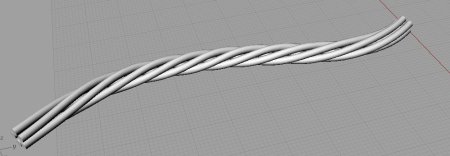
The final result should be similar to what is being shown below.

A Youtube video demonstration in Rhino 6 is shown below
That’s all for this tutorial. Hope that it is of use to you 🙂
