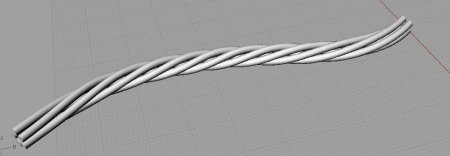
This is a Rhino3d version 4.0 tutorial. In this tutorial, we are going to create a twisting wire or rope as shown below . We are going to make use of the very cool features within the UDT toolset. For this tutorial, a basic understanding of Rhinoceros 3D is required.

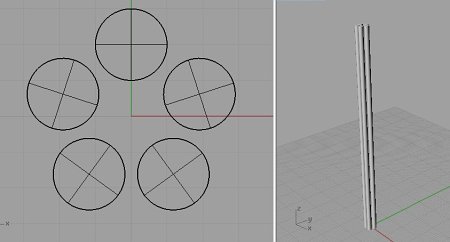
Firstly, using pipe and array command create a number of arrayed tubes. This is as shown below.

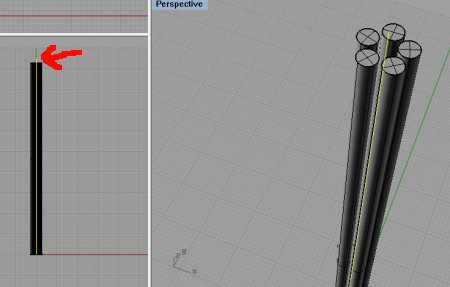
Next, create a line or curve that goes through the center of the group of tubes. The curve is as indicated by the red arrow as shown below. You might want to use Osnap or snap to grid to achieve accurate placement of the curve.

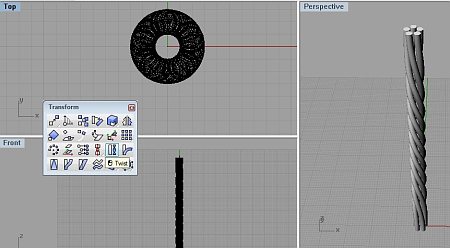
Now, we are going to use the Twist command to create the initial twist. This tool is found in the Transform Toolbar. Object to twist are the newly created tubes. The start and end of the twisting axis are the 2 ends of the line respectively. Use the End Osnap to snap accurately to these 2 ends. For angle or first reference point, you might want to use the plan view (Top view in this case) to define it. The result should be similar to the screenshot below.

This is the end of part one of this Rhinoceros 3D tutorial.
