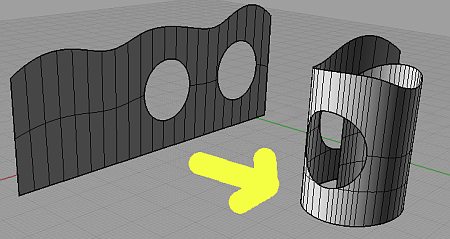
This is a Rhinceros 3D tutorial. For this tutorial, we will show how a relatively complex flat sheet design can be rolled accurately. This tutorial is geared towards someone who is already fairly familiar with using Rhino 3D.

First, we will need to create the flat pre-rolled sheet. The sheet will have non-linear edges as well as cut-out sections (which is as shown above as the flat surface on the left).
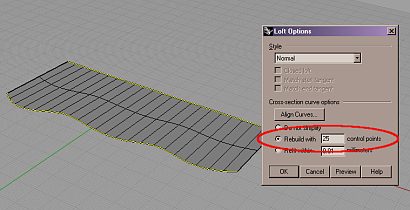
To create the basic shape, firstly create the basic curves for the design. Next use, Loft to create the base surface. The crucial point is to use the Rebuild with option of Loft. Give a rebuild value that will provide sufficient control points on the NURBS surface. In this case, I gave a value of 25. (See screenshot below)

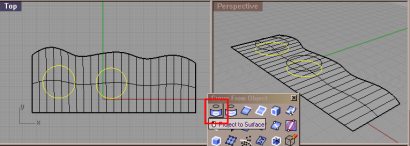
Next, we will need to create the cut-out sections. This is relatively easy too. In the correct view, create the curves for the cut-out sections. Use the ‘Project to Surface‘ tool to create curves-on-surface (COS) on the flat surface. This is as shown below.

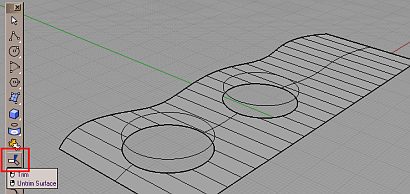
Once this is done, use the Trim command to remove the unwanted portions of the surface. You should get something like what is shown below.

OK.. this is the end of Part 1 of this tutorial. In part 2, we will show how this flat sheet can be rolled to its desired shape.
